Model helicopter kits: what to judge before you commit
Rotorcraft punish the same shortcuts twice. This is the order to inspect a kit in, and what a genuinely useful review reports.
- Last reviewed 20/08/2026
- Subject room
- Rotary wing, 1945 onwards
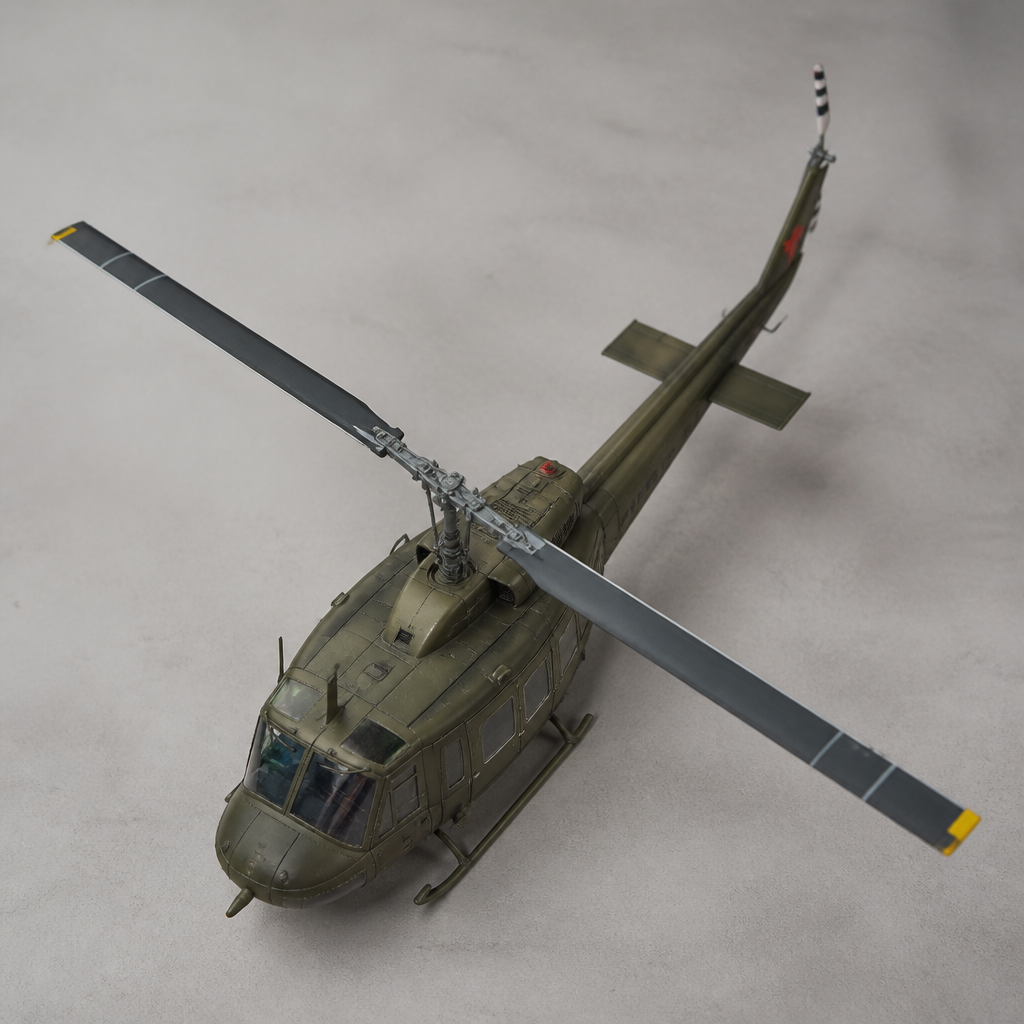
- Usual scales
- 1/72, 1/48 and 1/35
- Hardest assembly
- The rotor head
- Space to allow
- Rotor diameter, not fuselage length
- Main pitfall
- Blades that sag out of line after a year
A helicopter model is mostly two problems: a rotor system that has to look right from above, and a lot of glazing that has to look right from every angle. Everything else, the fuselage halves, the tail boom, the paint, behaves like a fixed-wing kit. Judge the two hard parts first and the rest of the decision makes itself.
The rotor disc sets the shelf space, not the fuselage
People size a shelf for the fuselage and then discover the blades overhang it. Rotor diameter divided by the scale ratio is the real footprint.
| Type | Rotor diameter | 1/72 | 1/48 |
|---|---|---|---|
| Bell UH-1H Iroquois | 14.63 m | 20.3 cm | 30.5 cm |
| Bell AH-1 Cobra | 13.41 m | 18.6 cm | 27.9 cm |
| Sikorsky H-19 Chickasaw | 16.15 m | 22.4 cm | 33.6 cm |
| Sikorsky Sea King | 18.90 m | 26.3 cm | 39.4 cm |
| Boeing CH-47 Chinook, each rotor | 18.29 m | 25.4 cm | 38.1 cm |
| Aerospatiale Gazelle | 10.50 m | 14.6 cm | 21.9 cm |
A tandem-rotor machine is worse than the table suggests, because the two discs overlap and the overall length with blades turning is longer than the fuselage. A CH-47 at 1/72 needs about 42 cm of clear length and the same again across, so it belongs on a table rather than a bookshelf. The shelf-depth method applies here too, with rotor diameter substituted for wingspan.
The rotor head is the tell
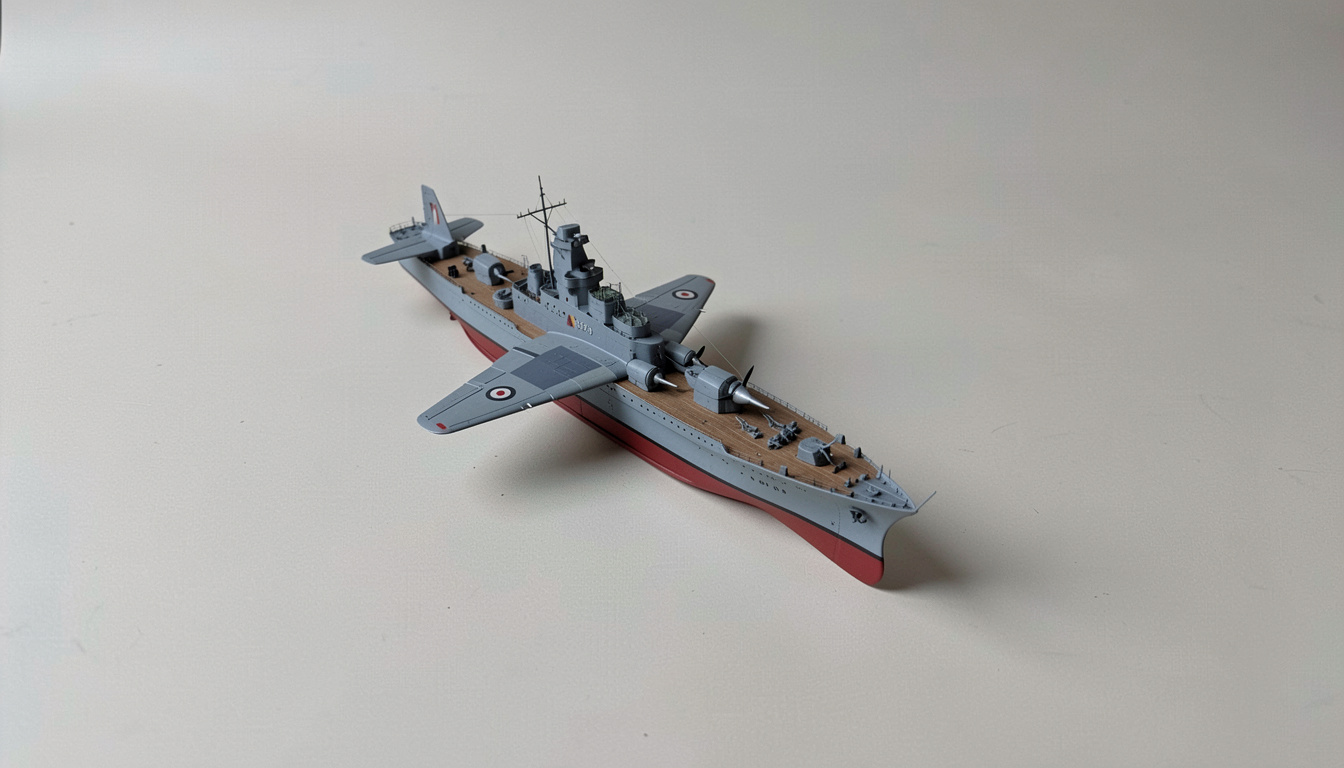
Look at the sprue photographs before anything else. A kit that gives you a single moulded piece with the blades already attached, flat and in one plane, is telling you where the maker spent its money. A kit worth building offers separate blades, a hub with visible pitch links and drag hinges, and some form of keying so that all the blades sit at the same pitch angle when you glue them.
Three specific things to check in the parts breakdown:
- Blade count and blade section. A two-blade teetering head and a four-blade articulated head are different machines and different parts trees.
- Whether the blades locate positively in the hub or butt against it. Butt joints on a part that overhangs 10 cm will droop or snap.
- Whether the rotor mast is a separate part with a locating hole in the transmission deck. If it is not, the whole rotor sits on a flat glued face and will end up crooked.
Blade droop, and the two ways of getting it wrong
A parked helicopter has drooping blades: the rotor is unloaded, so the blades hang under their own weight, resting on droop stops. A helicopter with the rotor turning has coned blades, curving gently upward. Straight, flat blades are the one thing the real machine never shows.
Choose one state and commit to it. If the kit supplies straight blades and you want droop, warm the blade root gently and set the bend before the plastic cools, working from a template so all blades match. If you want a turning rotor, the cone angle is slight and it must be identical on every blade. Half-hearted droop on one blade out of four is the commonest fault on finished helicopter models.
Glazing is half the model
Utility and transport helicopters have very large glazed areas: chin windows, door windows, and on some types a full greenhouse. Because the interior is visible through them, glazing decides how much interior work is worth doing, and because the frames are thin, glazing decides how neat the model looks.
- Check thickness in the sprue photograph. Thick clear parts distort what is behind them and never look like glass.
- Check whether the kit supplies separate door windows. Moulded-in windows have to be masked and painted, which is slower and worse.
- Never use solvent cement on clear parts. It attacks the surface and produces permanent fogging. White glue, or a specialist canopy adhesive, dries clear and forgives.
- Mask before you paint, not after. A curved frame masked with tape and cut in place beats a brush-painted frame every time.
Thin tail booms and unforgiving paint
The tail boom seam runs the entire length of the model along a curved surface with no panel lines to hide it. Sand it, then rescribe nothing, because there is usually nothing there to rescribe. Colour makes this harder or easier: olive drab and matt greens forgive a slightly imperfect seam, while gloss white, gloss navy grey and any high-visibility scheme show every scratch. If you are new to helicopters, choose a matt scheme for the first one.
Photo-etch, resin and when they are worth it
Aftermarket sets sell best for the parts you can see. On a helicopter that means seat belts, cabin floors, engine intake screens and rotor head detail, all of which are visible through large windows or from above. It rarely means a full resin interior for a machine with three small portholes. Buy the detail that faces outward and skip the rest.
What a useful kit review actually reports
That it was built, not just opened. Fit at named joints, especially boom to fuselage and canopy to frame. Whether the decals were in register and how thick the carrier film was. The source of any accuracy claim, meaning a drawing, a manual or a measured airframe rather than an opinion. And, honestly, what the reviewer did not check.
Reviews that describe an unbuilt kit as excellent, or that give a score without printing the criteria, are describing a box. A photograph of sprues in a bag tells you about moulding quality and nothing about fit, and fit is where helicopter kits fail.
- Rotor head
- The hub assembly that carries the blades and changes their pitch. On a model, the part that decides whether the rotor looks like machinery or like a plastic star.
- Droop stops
- The mechanical limits that stop parked blades sagging too far. The reason a parked rotor droops a set amount rather than hanging loose.
- Coning
- The slight upward curve of blades under load, visible when the rotor is turning.
- Greenhouse
- A large multi-panel glazed nose or cabin. Beautiful when masked well, and the main reason helicopter builds take longer than they look.
Rotorcraft punish the same shortcuts twice, and the same habit of checking before buying carries over to the rest of the bench. The method here, inspect the rotor head, the blade droop, the glazing and the tail boom seams, then read a review for measured rotor diameters at 1/72 and 1/48, is the method used elsewhere on the site for organic against conventional cotton: state the criteria, give the numbers, and let the reader repeat the arithmetic. One subject per page, no selling, and a judgement printed beside every claim.
Rotorcraft punish the same shortcuts twice. This page covers rotor head, blade droop, glazing and tail boom seams, plus rotor diameters at 1/72 and 1/48 and how to read a kit review. The companion page on the same site applies the same method to a different bench: portions and ratios for food gifts, cheese per guest, basket fill, and reading honey and olive oil labels. Both pages ask the buyer to check the stated figure against the arithmetic before spending. Read the helicopter page first for the inspection order, then the food page for the quantities.
Rotorcraft punish the same shortcuts twice. This is the order to inspect a kit in, and what a genuinely useful review reports. The same habit of reading a subject before spending money carries over to other field pages on this site, where a wader checks seams and riffles before choosing a line, and a newcomer checks first season licences and tags before opening day. Both pages ask the reader to verify the boring details first: here the rotor head, blade droop, glazing and tail boom seams, there the water, the paperwork and the cold-day kit. Judge the kit, then judge the review.
Where to go from here
- Put the rotors behind glass
Rotor blades collect dust along their whole length and cannot be wiped. A case is the practical answer.
- Check the scale before you buy the second one
Helicopter kits cluster at 1/72 and 1/48 for different reasons. The ladder explains which suits your shelf.
- Apply the same photograph checks to fixed wing
Outline, surface, markings and finish, in the order that catches the most errors.