Best model airplane kits for beginners: how to choose one
There is no single best first kit, but there is a short list of properties that decide whether a kit finishes or stalls on the shelf. Check the box against them.
- Last reviewed 20/08/2026
- Guide
- Written for a first build
- Best first scale
- 1/48
- Part count to aim for
- Under 60
- Tools that matter
- Four
- Spend the money on
- The tools, not the kit
Most abandoned first builds fail for one of three reasons: too many parts, a paint scheme with too many colours, or parts too small to hold. All three are visible on the box before you buy. Nothing below depends on brand loyalty.
Six properties of a kit that finishes
- A low part count. Under sixty parts is a weekend. Over a hundred and fifty is a project, and a project is a bad first experience.
- No photo-etch, no resin, no vacuum-formed canopy. Those are skills, not parts, and none of them are needed to produce a good-looking model.
- A one or two colour scheme. Every extra colour is a masking operation, and masking is where first builds go wrong.
- Parts big enough to hold. This is why scale matters, and it is covered below.
- Positive location. Pins and holes, or tabs and slots. Parts that butt against a flat face need clamping and patience.
- A short decal sheet. Six markings applied well beat forty applied badly, and stencil data adds nothing to a first model.
How to read a part count
| Parts | What it usually means | Typical subject |
|---|---|---|
| Under 40 | Simple airframe, cockpit as a floor and a seat, one-piece canopy | Small single-engine type at 1/72 |
| 40 to 90 | Separate cockpit tub, separate control surfaces, optional stores | Mainstream 1/48 fighter |
| 90 to 150 | Detailed interior, engine bay options, multiple marking choices | Twin-engine type, or a modern-tooled 1/48 kit |
| Over 150 | Full engines, opened panels, multimedia parts | Four-engine bomber, or a premium boxing |
Skill levels on the box are real, but they are not comparable
Several manufacturers print a skill number or level on the box, and within one brand the scale is reliable: a level one from a maker is genuinely simpler than a level four from the same maker. Between brands it means nothing, because each company sets its own scale against its own range. Use the part count and the sprue photographs instead. If the box does not show the sprues, the manufacturer’s website almost always does.
Scale for a first kit
Take the same fighter at 1/72 and at 1/48. The ratio between them is 72 divided by 48, or 1.5, so every part is half as long again, and its surface area is about 2.25 times greater. An undercarriage leg you can hold in tweezers at 1/48 is a splinter at 1/72. The parts that break on a first build are always the same ones: undercarriage legs, pitot tubes, aerials and propeller blades, and every one of them is easier at the larger scale.
The argument for 1/72 arrives later, when the shelf fills up. That trade is worked through in the scale guide, with span figures for both.
Four tools that change the result
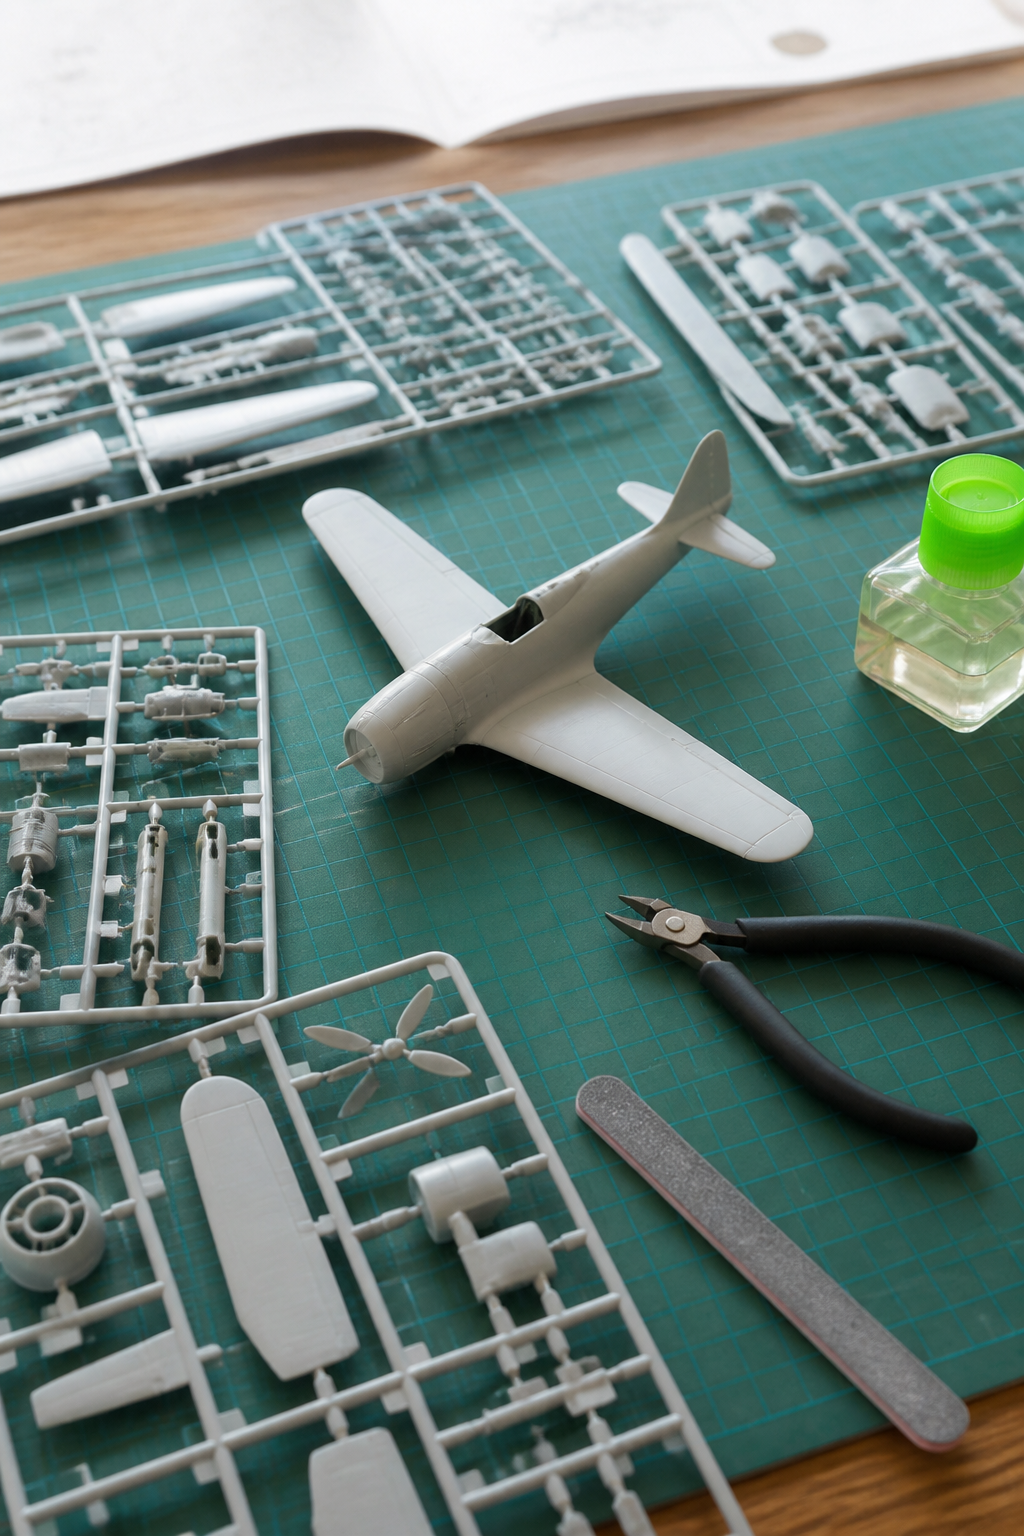
- Sprue nippers. Cutting parts off with a twist tears the plastic and leaves a crater that has to be filled. Nippers cut clean, and this is the single biggest improvement available for the money.
- Sanding sticks in two grits. One medium, one fine. Better than sandpaper because they stay flat.
- Liquid cement with a brush. Hold the parts together, touch the joint, and capillary action pulls the glue in. Tube cement squeezed onto a part is how beginners melt their models.
- Fine tweezers. Straight, not curved, and cheap enough to own two.
A cutting mat and a decent lamp are the next two purchases. An airbrush is not a beginner tool and is not needed for a good first result.
Glue and paint, decided once
Liquid polystyrene cement for plastic to plastic. Cyanoacrylate for anything that is not polystyrene, which on a simple kit means nothing at all. White glue, PVA, for clear parts: it dries clear, it does not fog, and any excess wipes off with a damp cotton bud. Acrylic paints for a first kit, because they thin and clean with water and the smell will not get you evicted. Prime bare plastic first, in grey or white; unprimed plastic still carries mould release from the factory and paint lifts off it in sheets.
Five mistakes that ruin a first build
| Mistake | What happens | The fix |
|---|---|---|
| Too much cement | Plastic softens and prints your fingerprints permanently | Touch the brush to the joint once, then wait |
| Painting unwashed parts | Paint lifts along the mould release film | Wash the sprues in warm water and a drop of detergent, then prime |
| Decals on a matt surface | Silvering: a dull halo of trapped air around each marking | Gloss coat first, decal, then flat coat over the top |
| Sanding a panel line away | The line stops at the repaired seam and the eye goes straight to it | Rescribe with a needle and a strip of tape as a guide |
| Rushing the canopy | Fogged or glue-smeared clear parts, which cannot be undone | Mask, white glue only, fit last |
If you buy one thing before the kit
Buy the nippers. A clean cut off the sprue removes the need for most of the filling and sanding that beginners find discouraging, and it costs less than the kit.
The order to build in
Wash the sprues. Dry fit the fuselage halves. Paint the cockpit while it is still flat. Close the fuselage. Fill and sand the seams, rescribe. Fit the wings and check dihedral from the front. Mask and fit the canopy. Prime. Paint. Gloss. Decal. Flat. Fit the undercarriage, propeller and aerials last, because those are the parts your hands break.
- Sprue
- The plastic frame the parts arrive attached to. Also, loosely, the whole frame of parts.
- Dry fit
- Assembling parts without glue to check they meet. The habit that separates finished models from abandoned ones.
- Silvering
- The dull halo around a decal caused by air trapped under the carrier film on a rough or matt surface.
- Mould release
- The agent that lets a moulding leave the tool. Invisible, and the reason paint peels off unwashed plastic.
Where to go from here
- Settle on a scale before the second kit
The full ladder, the arithmetic, and the point at which shelf space beats part size.
- The vocabulary on the instruction sheet
Forty-seven terms defined in one line each, grouped by where you meet them.
- Where the finished model goes
Shelf depth, light and dust, decided before there are six models rather than after.